Google Workspace: Create New User
Overview
The Google Workspace: Create New User Automation is both an Extension Automation and a Chatbot Automation that can be applied to the current Staff Onboarding Automation (available for Cloud Only, Cloud Hybrid and Semi-Hybrid clients), or run stand alone.
This document details how to complete the Google Workspace setup, add the Pia Pack to your tenant and configure on a per client basis.
Step 1: Google Workspace Configuration
1a: Create a New Google Workspace Project
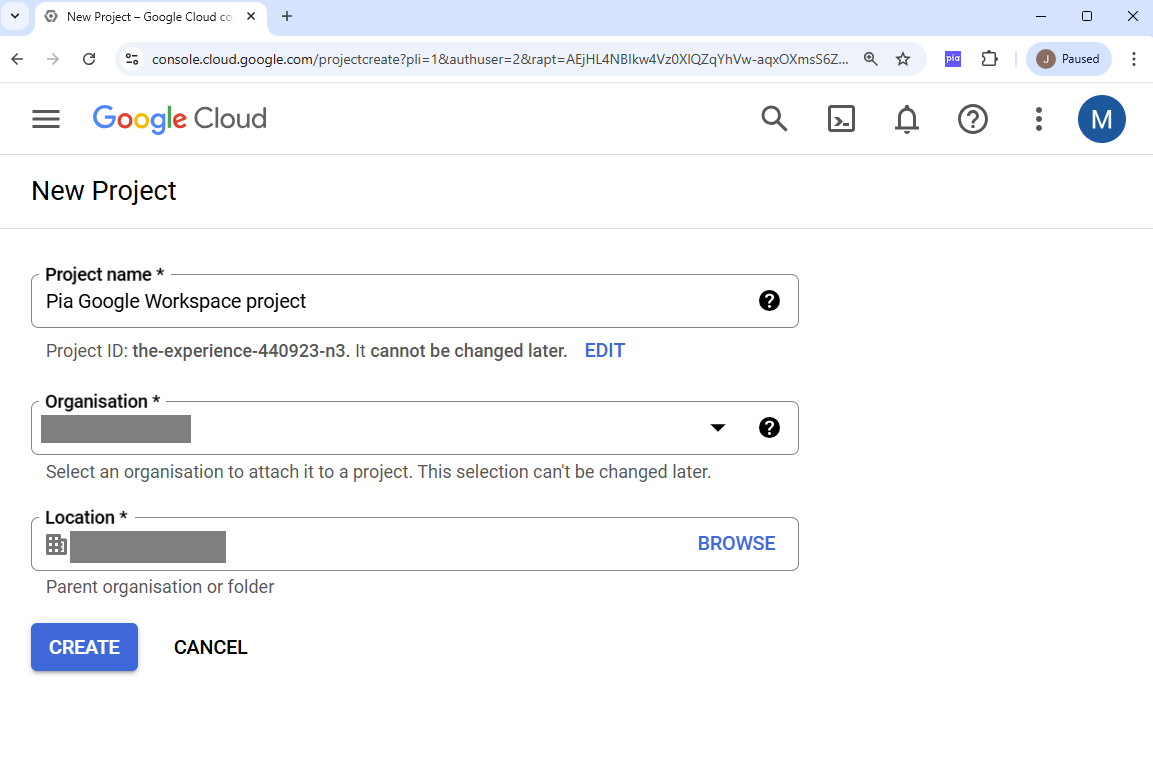
Navigate to New Google Workspace Project and create a New Project.
- Enter a Project name (*),
- assign the project to the Organization (*) (the domain of the client's environment),
- Location (*) auto populates to match Organization.
1b: Create a new Service account dedicated for Pia usage
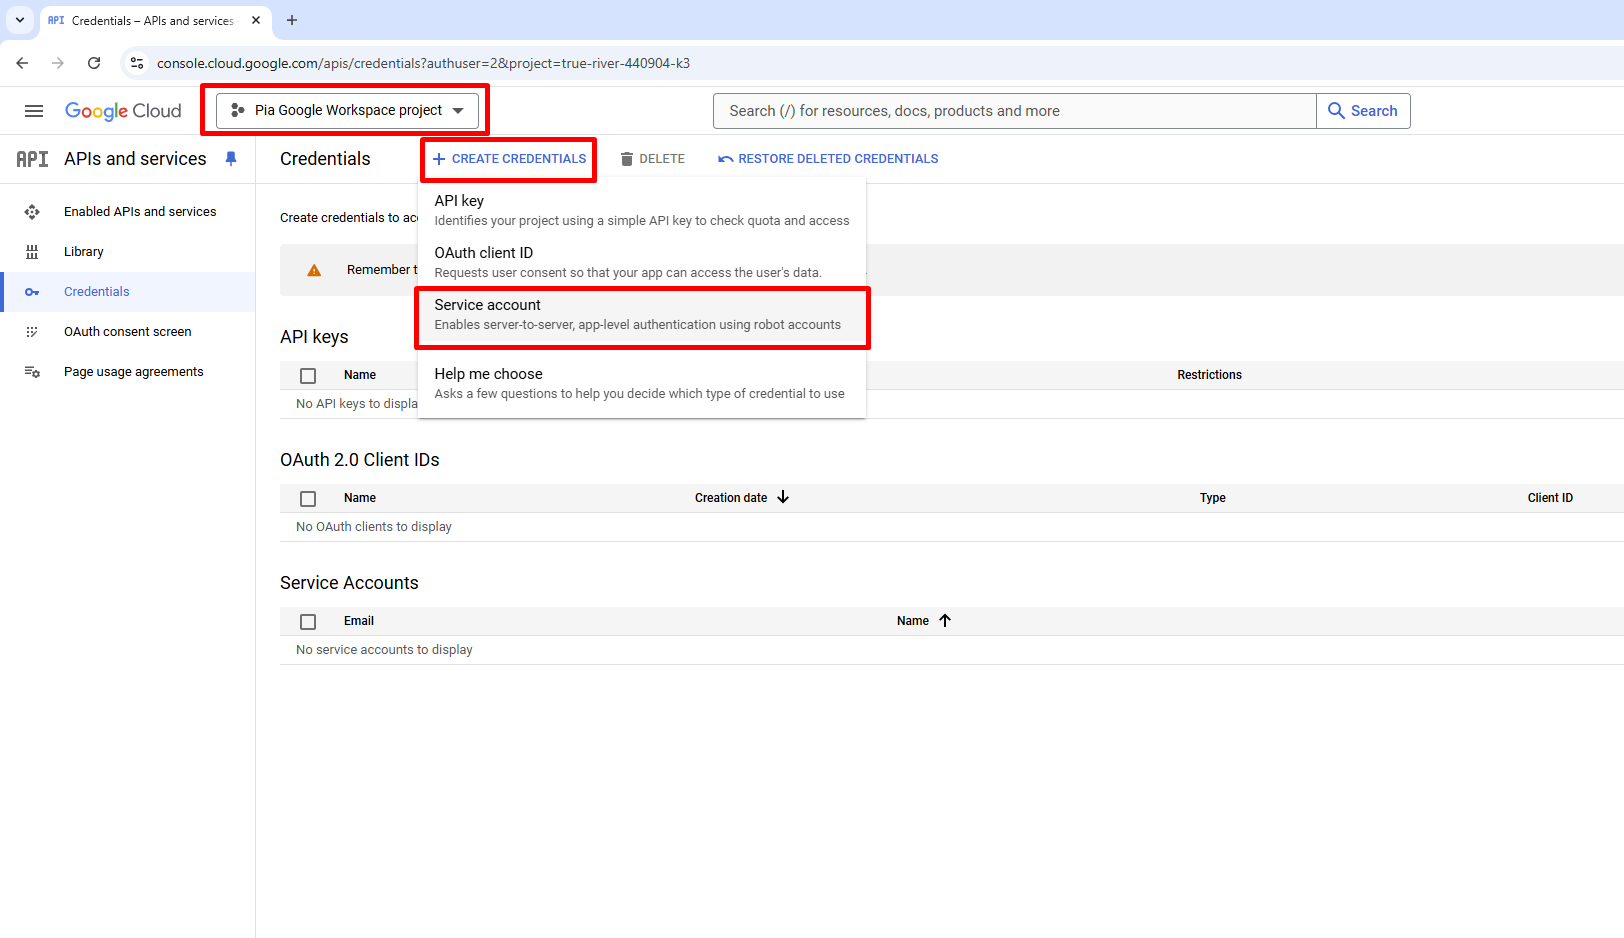
Navigate to the Google APIs and Services Credentials page, your new Project should show in the top left hand dropdown.
Select + CREATE CREDENTIALS > Service account.
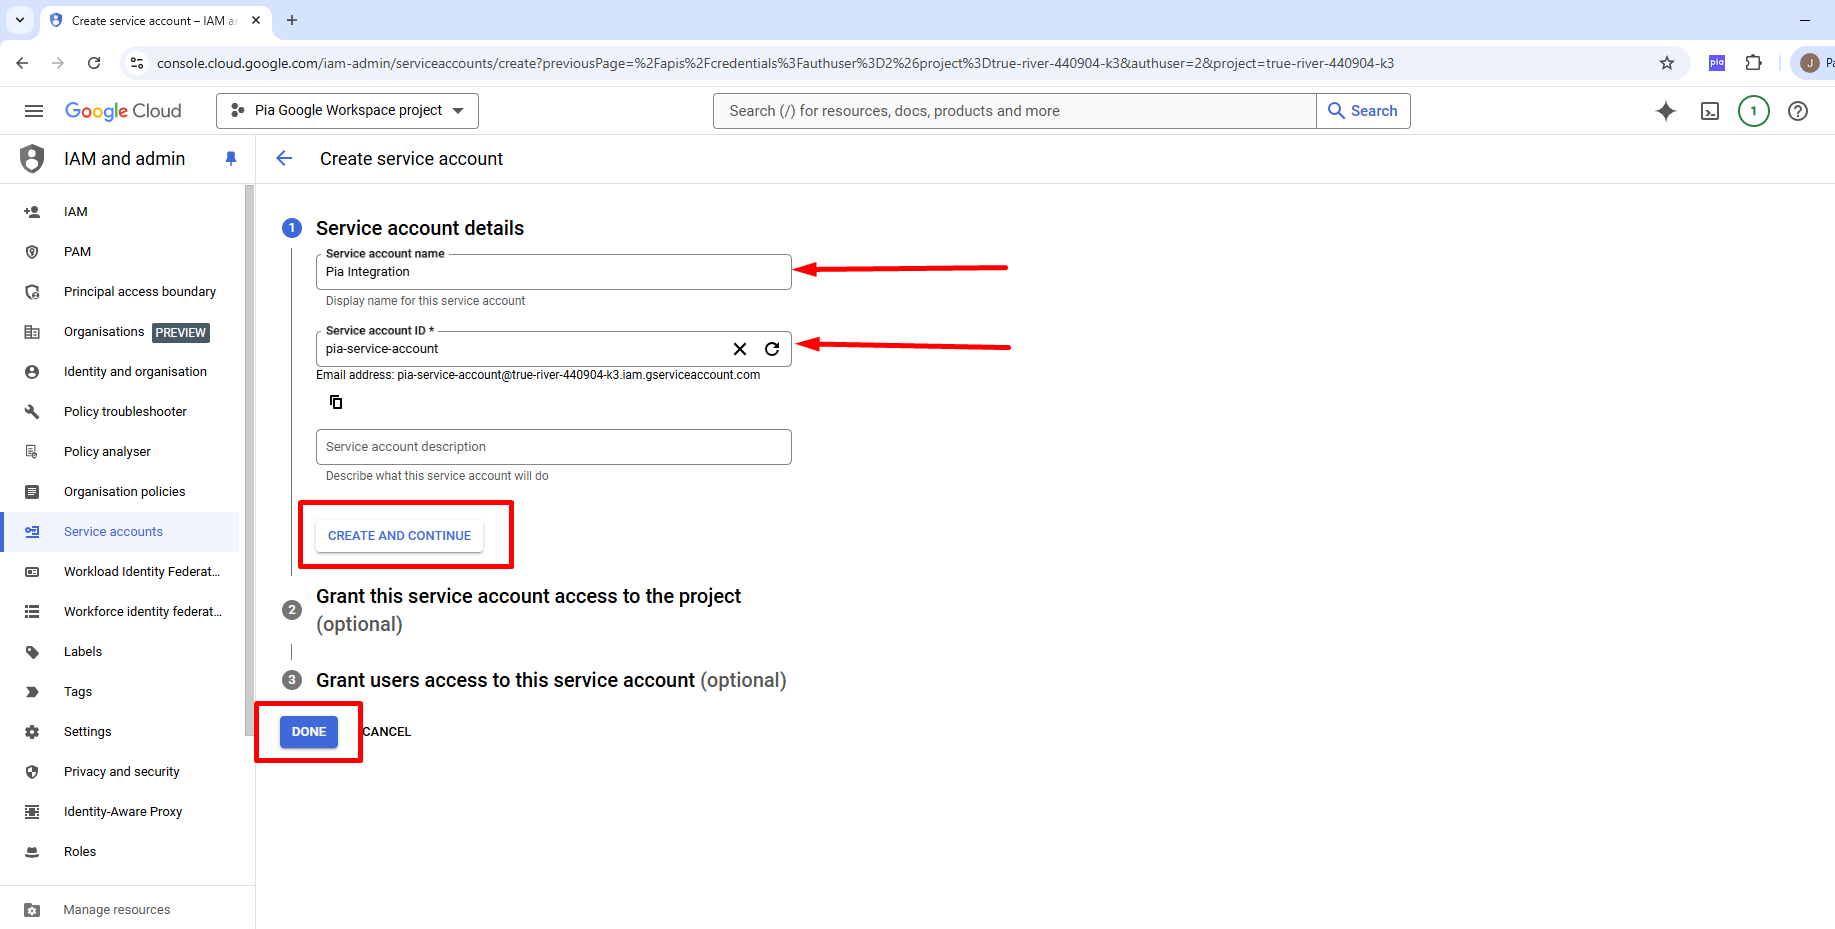
Then assign the new Service account name with a friendly name. The Service account ID (*) will auto populate. There is no need to assign the new Service account with any roles just yet, so click CREATE AND CONTINUE, we will simply finish the creation of the account. Then select "Done".
1c: Create a new key for your Service account
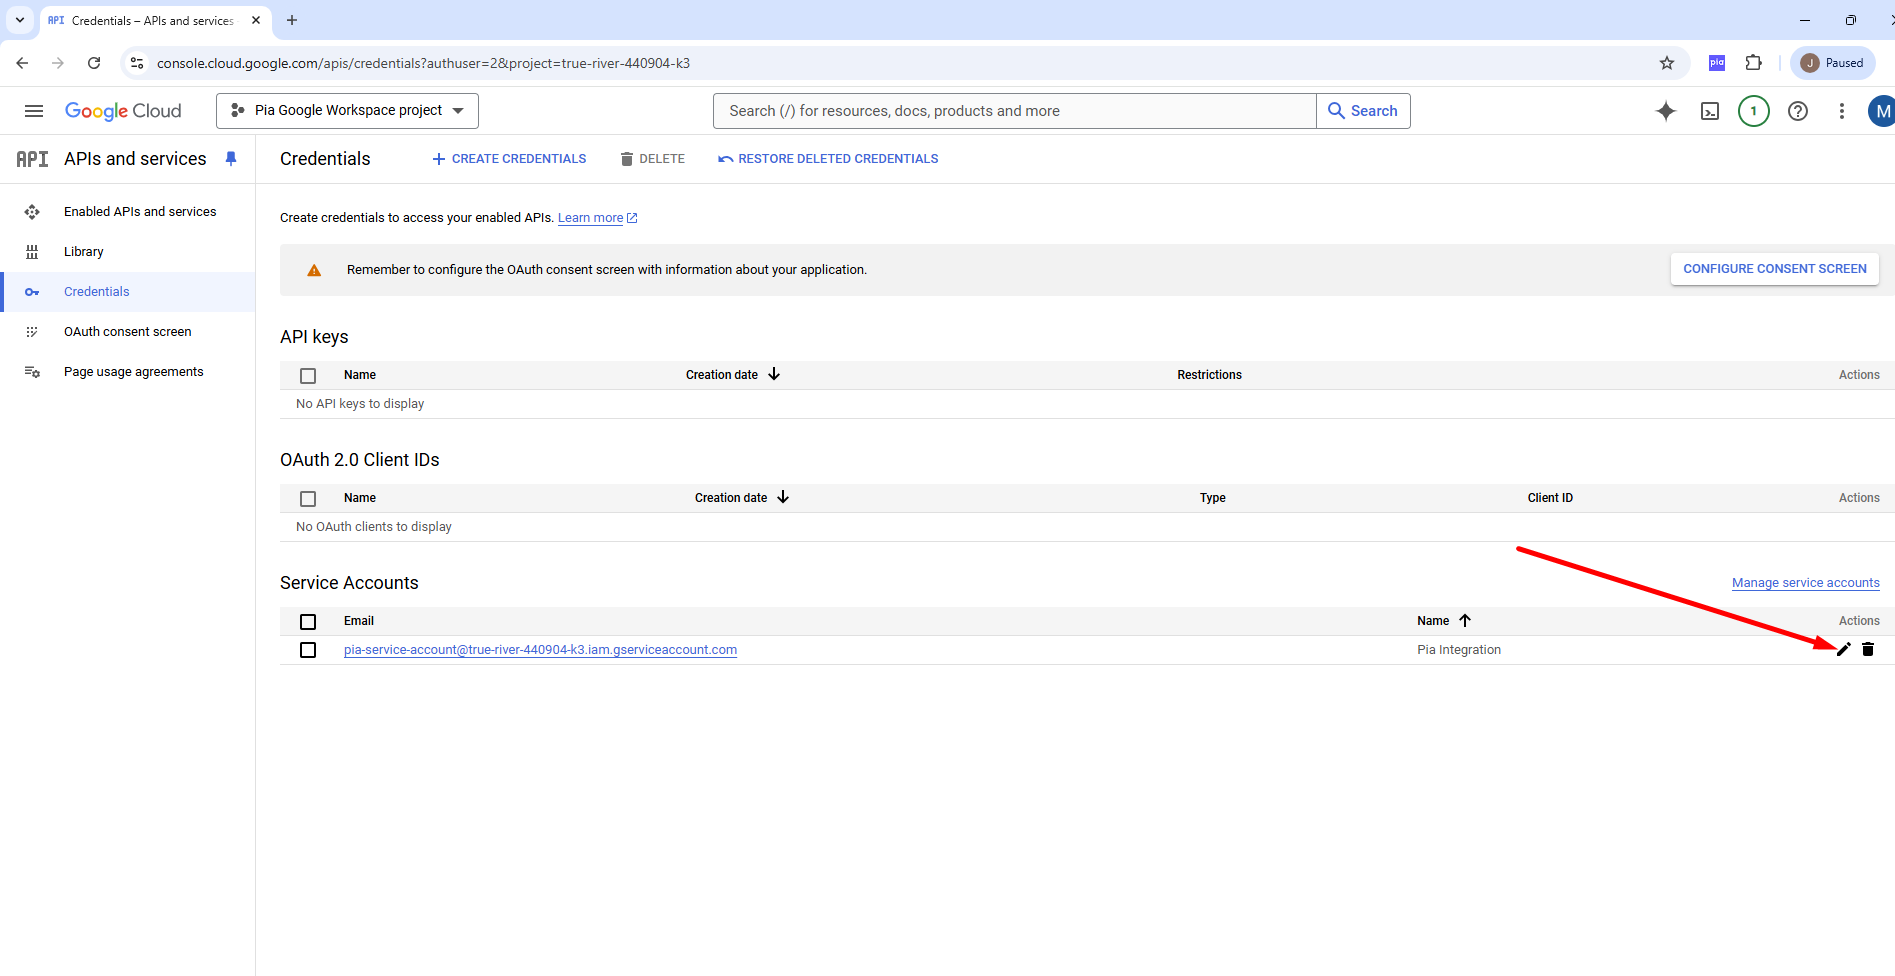
The newly created Service account will now show under Service accounts. Next, generate a key for the account by selecting the pencil (edit) icon on the right side of your account.
Navigate to the KEYS tab and select ADD KEY > Create new key.

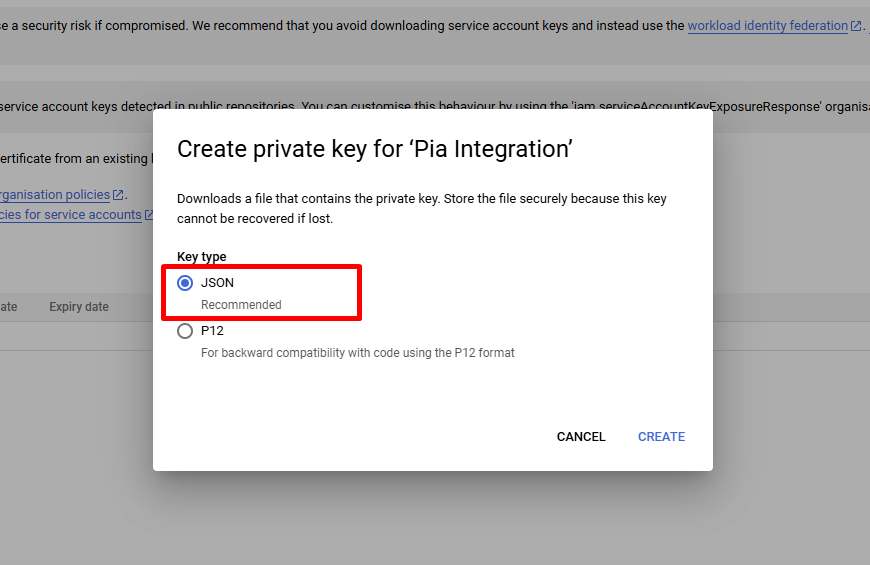
Once prompted for the Key type, you will need to select “JSON” and **CREATE. A file will be downloaded within your browser with the details of the newly created key (do not lose this file).
1d: Assign Roles to the newly created Service account
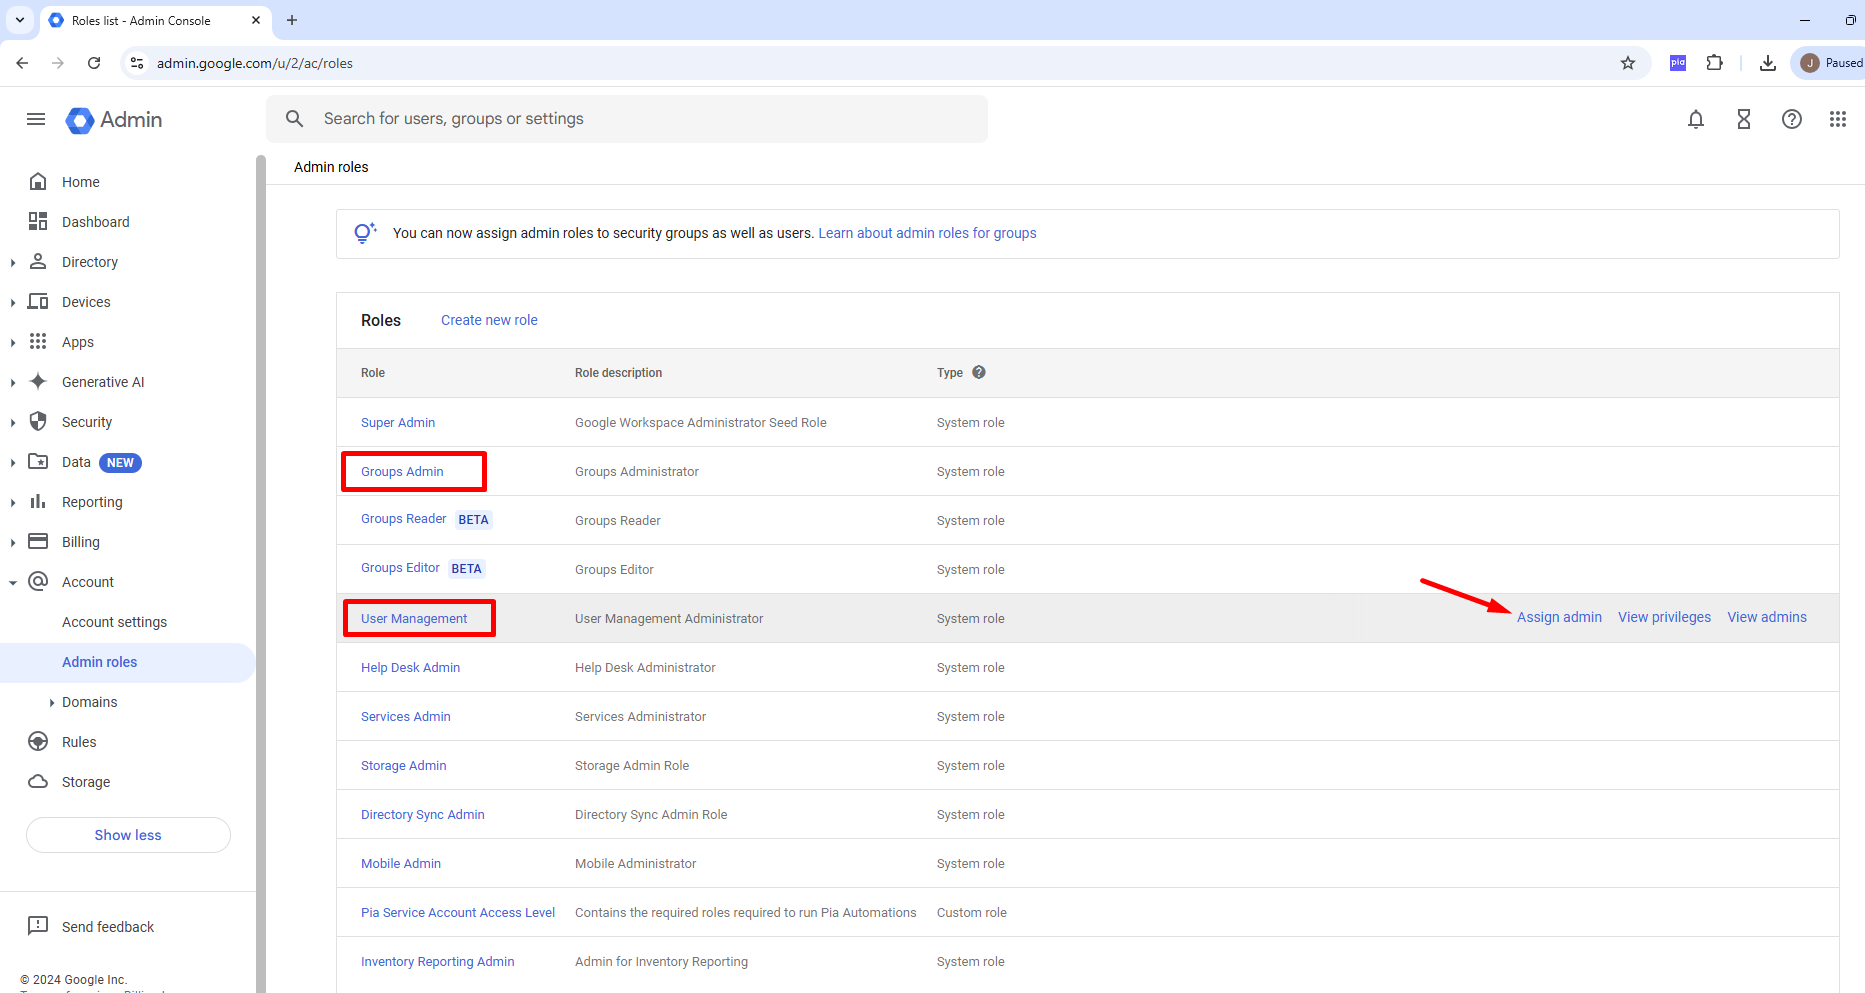
Now that you have created your Service account and generated your Key, navigate to https://admin.google.com/u/2/ac/roles and assign the “User Management” and “Groups Admin” roles to our Service account.
Select Assign admin beside the role (as seen below).
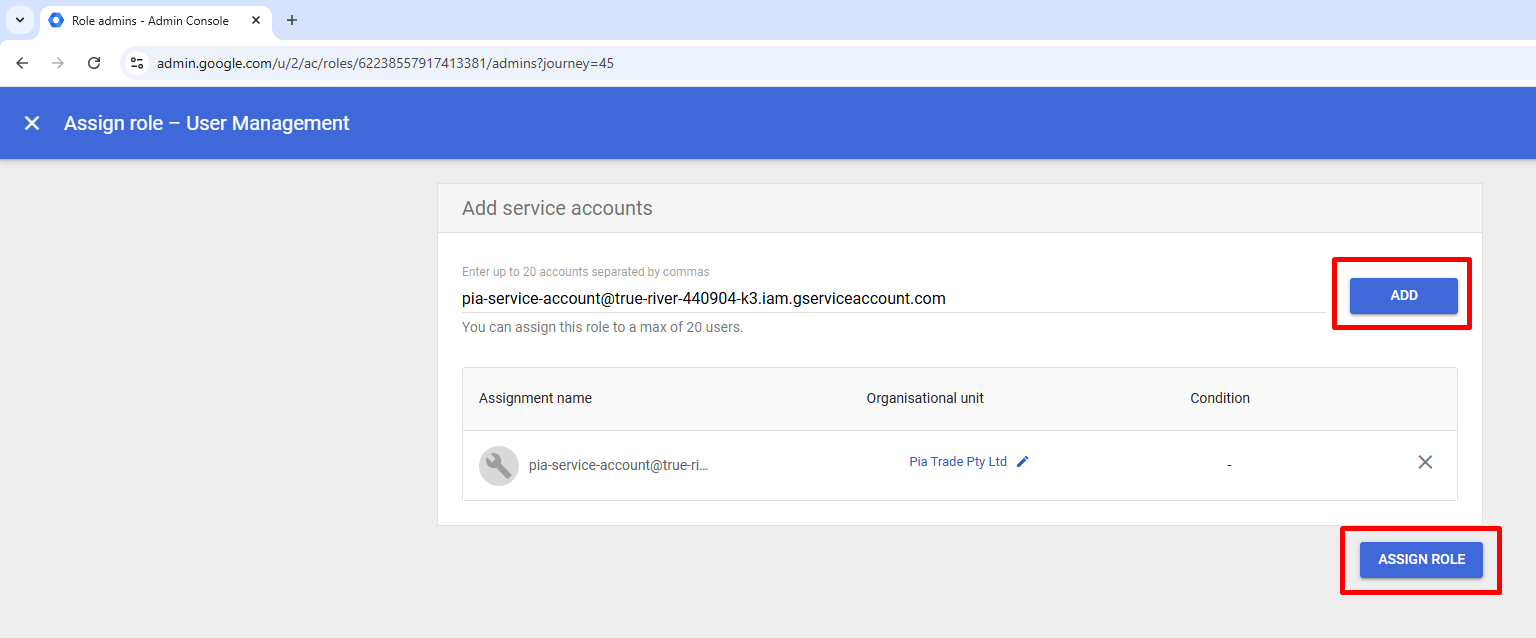
Under Admins, select Assign service accounts.
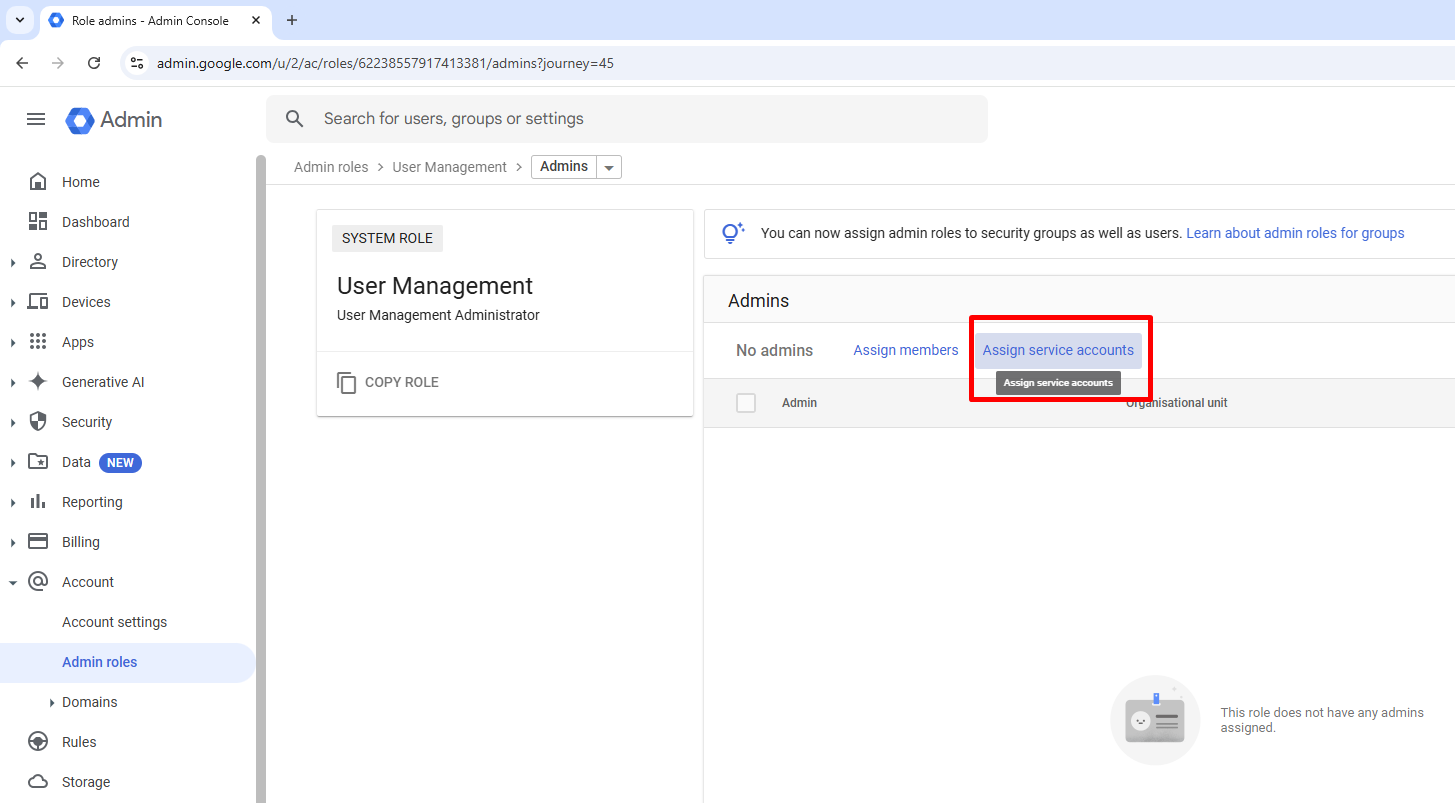
Enter the email (id) of your new service account (in our example case “pia-service-account@true-river-440904-k3.iam.gserviceaccount.com”) then select Add and Assign Role.
Repeat for the Group Management role as well.
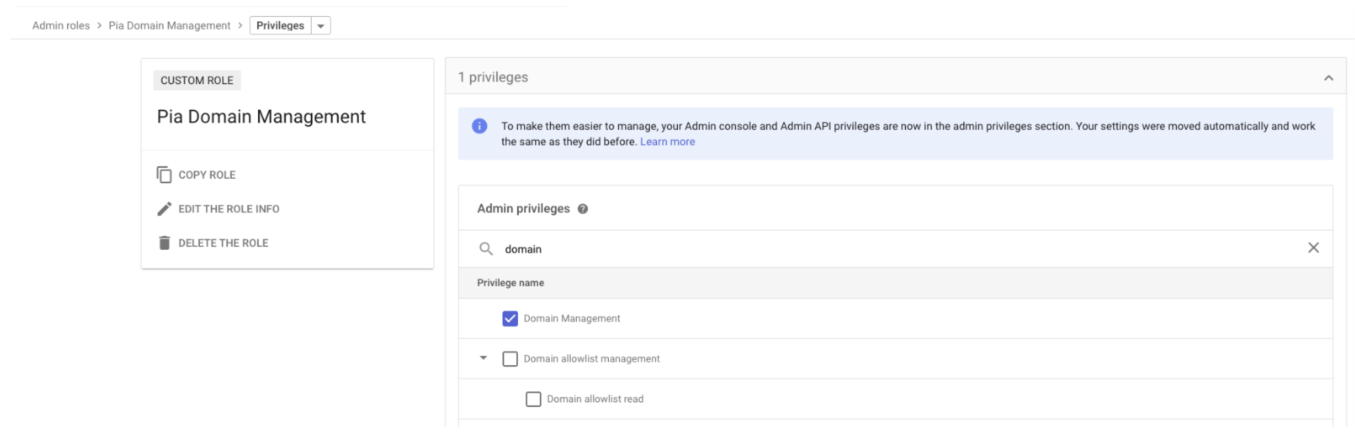
Add a new Custom Role for Domain Address Management, adding the permission below, and assigning the Service Account in the same way as the others;
You have now assigned sufficient privileges to manage users within Google Workspace via a Service account!
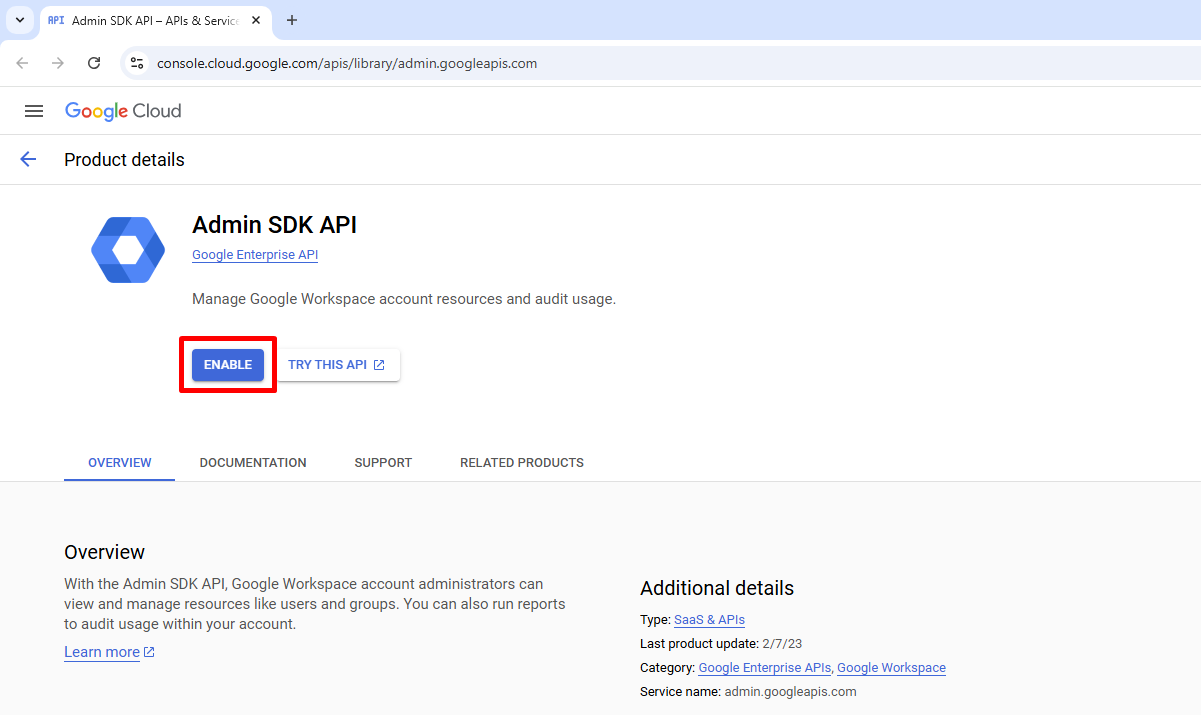
1e: Enable Admin SDK API
Navigate to https://console.cloud.google.com/apis/library/admin.googleapis.com where you can now ENABLE the Admin SDK API.
Step 2: Pia Pack Configuration
2a: Enable and configure the Pia Pack
Head over to the Automation Hub, search for and Select the Gsuite New Staff Onboarding Pia Pack.

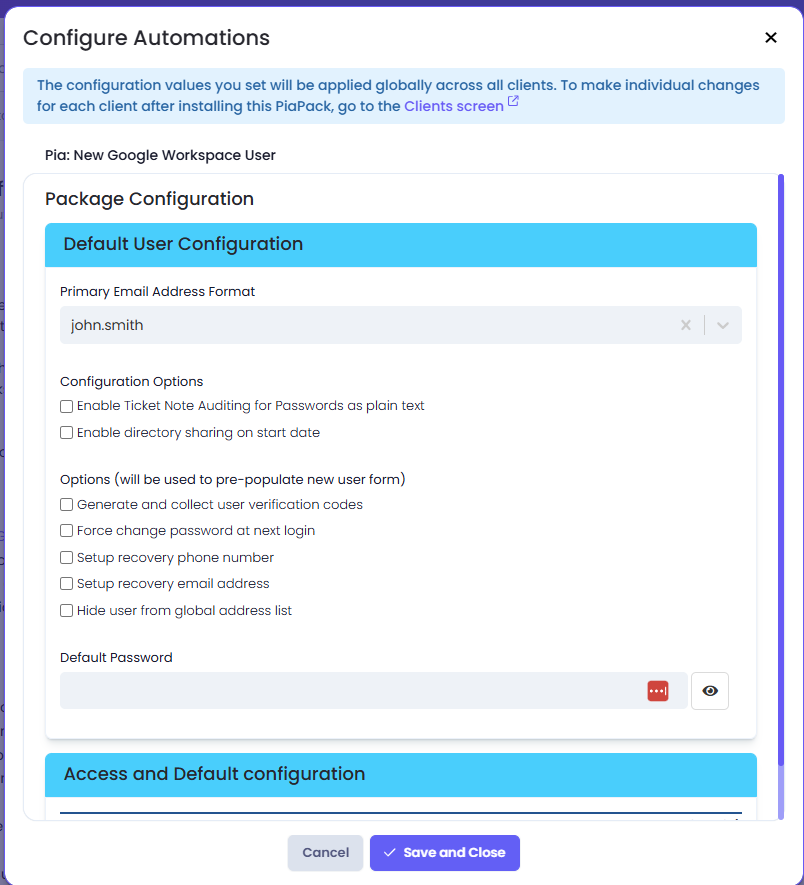
Follow the wizard, selecting the Automation, the Clients who require it and configure the available options if required;
2b: Configure the Google Workspace Integration
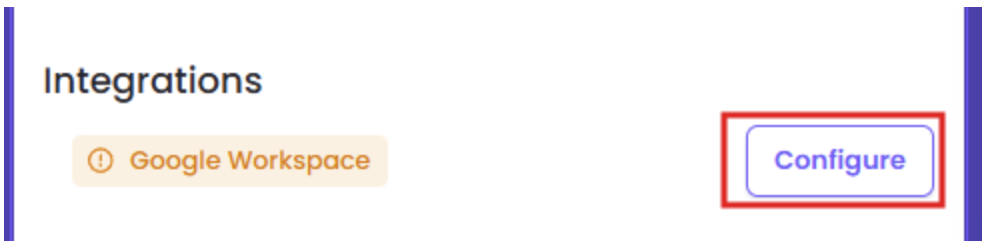
Click Configure on the Google Workspace Integration that comes bundled with the Pia Pack:
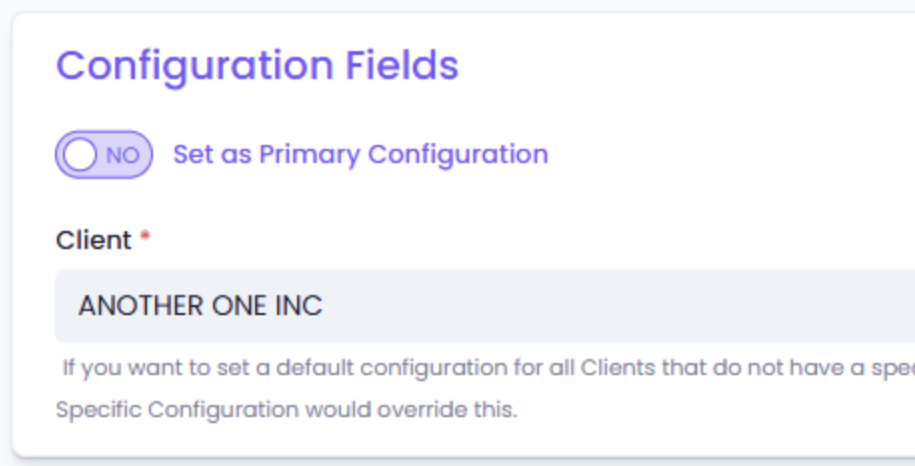
Un-select the Set as Primary Configuration option, and select the first client you’ll be connecting (you can add others later).
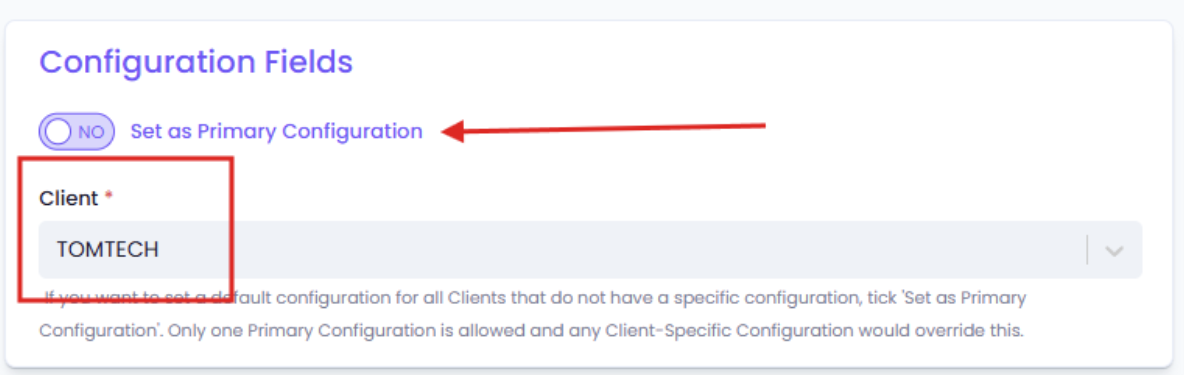
Most values for this configuration will come from the JSON file that was downloaded in the previous steps:
- API Key: This is the largest section of the JSON file copy and paste the “private_key” value starting with “-----BEGIN PRIVATE KEY-----” and ending with “-----END PRIVATE KEY-----\n”.
- API Base Url: This is the cert url field from the JSON file.
- Custom ID Is found on the Google Workspace Account Settings page.
- PrivateKeyId is found in the JSON file.
- Domain is the Primary domain from the Google Workspace Home Dashboard.
- ServiceAccount is the full name of the Service Account created previously.
Click Save and you’re ready to give this a test!
2c: Adding additional Client Configurations
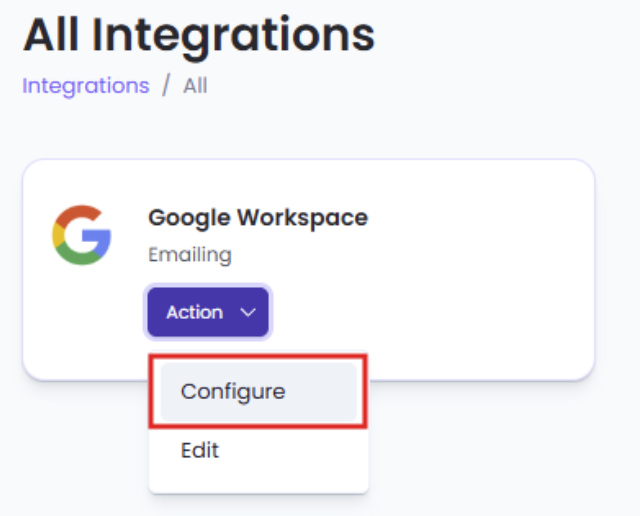
If you need to add additional sets of configuration values for other clients, you can do so by selecting the Google Workspace Integration:
Then select + Add Configuration in the top right:

Follow the same process as before, Uncheck the Set as Primary Configuration field, select the client and add the required details: